
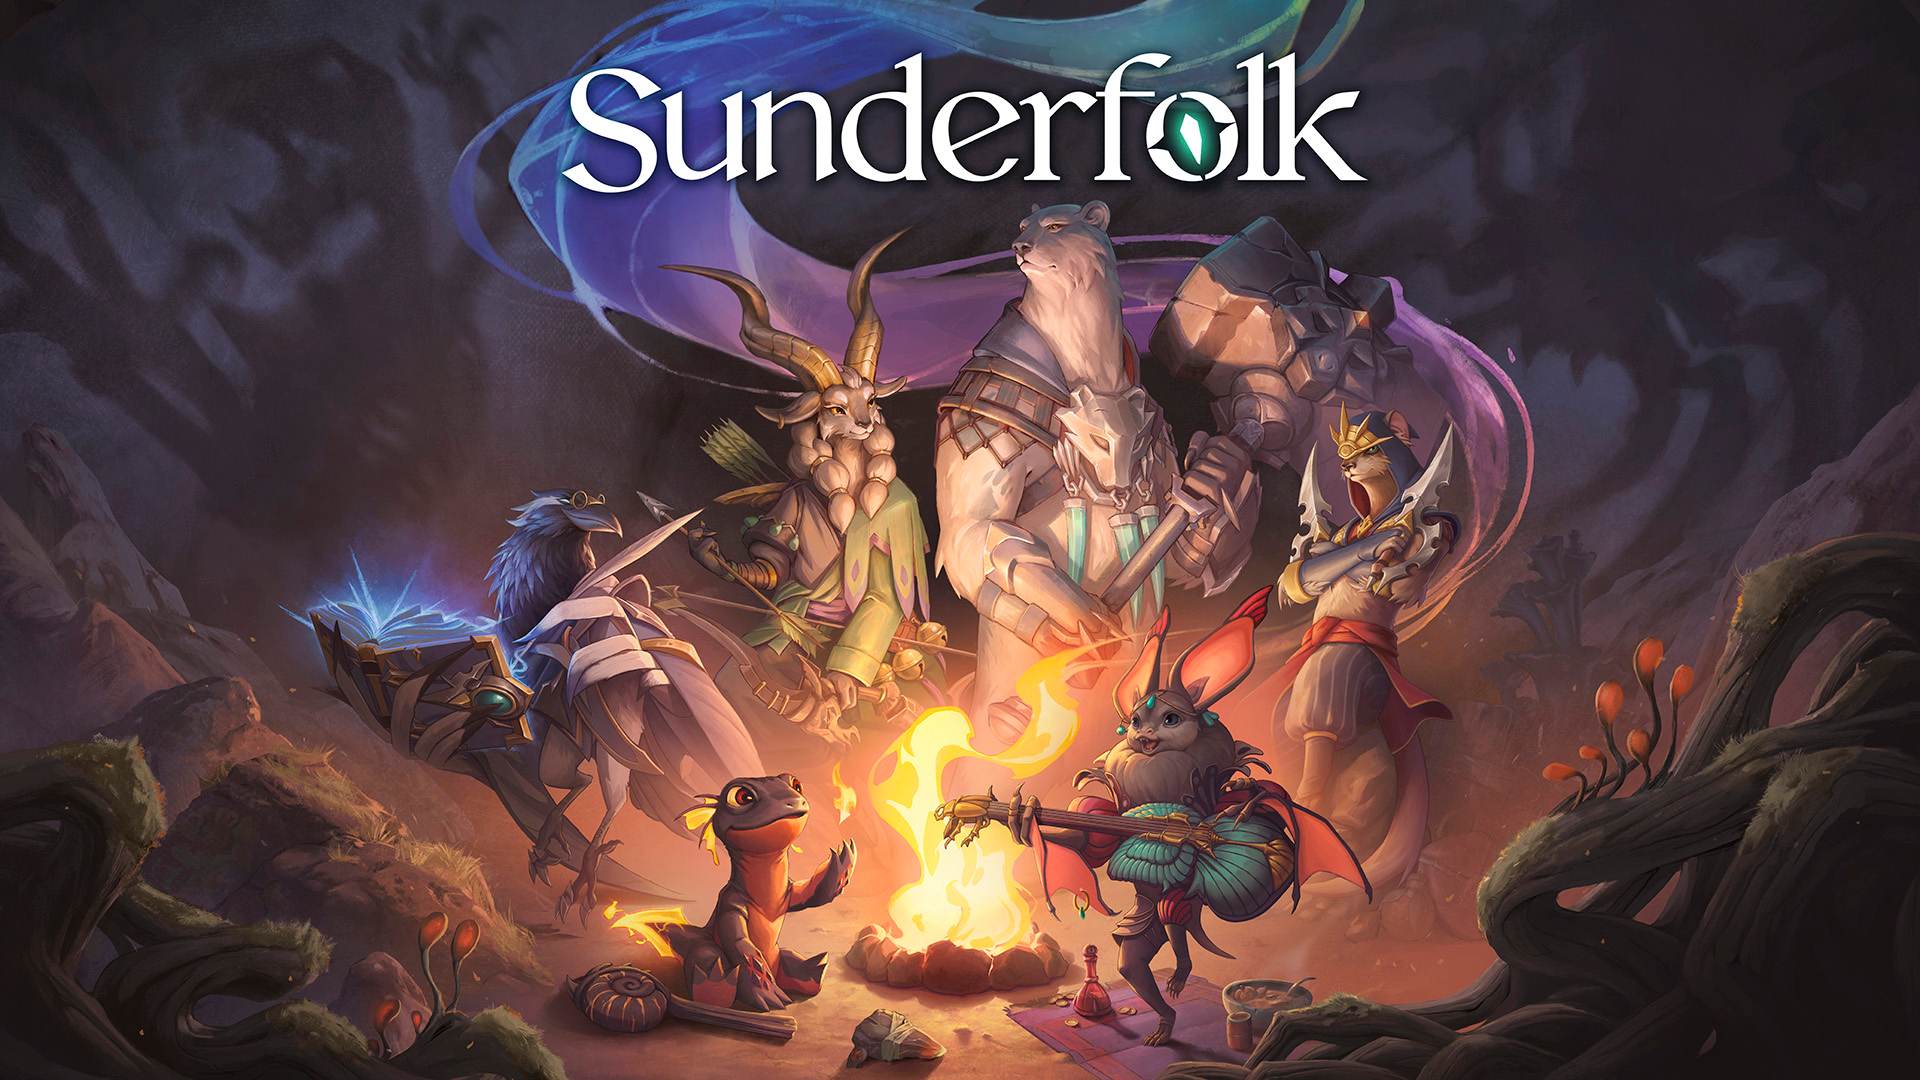
The Sunder-Guide to Sunderfolk
Hey Guardians! Are you ready to jump into Sunderfolk?
No? Well good thing you stopped by here first!
Here you’ll find everything you need to know to get ready to leap into the Sunderlands and save Arden.
The Basics
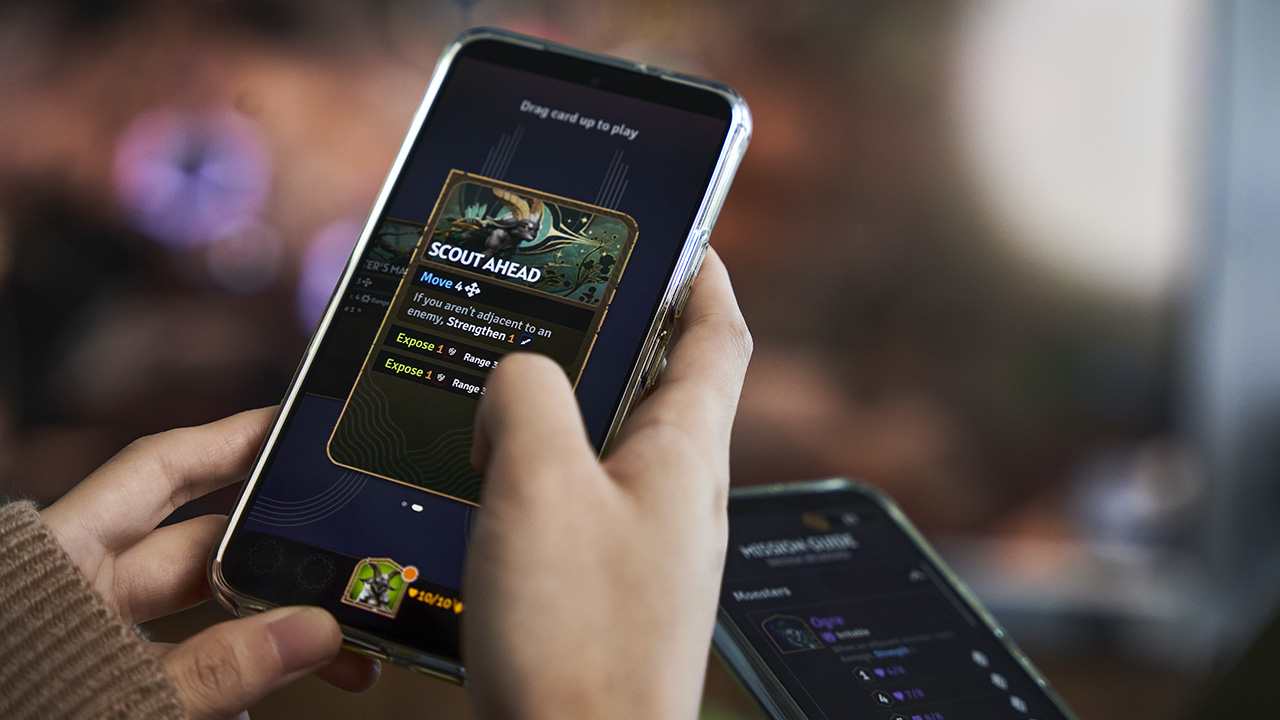
Controlling this game is a bit different than your standard strategy-focused game! Sunderfolk utilizes mobile devices (phones and tablets) as a new way to play. This covers everything from:
Moving your character in combat.
Using your hero’s Skill Cards.
Mission Objectives and Rules.
Hero information, such as Skill Cards, Fate Cards, and Passive abilities.
Enemy information, such as Skill Cards and their Passive abilities.
It’s like having your controller hold your character sheet and game guide, all in one convenient package.
Starting Your Campaign
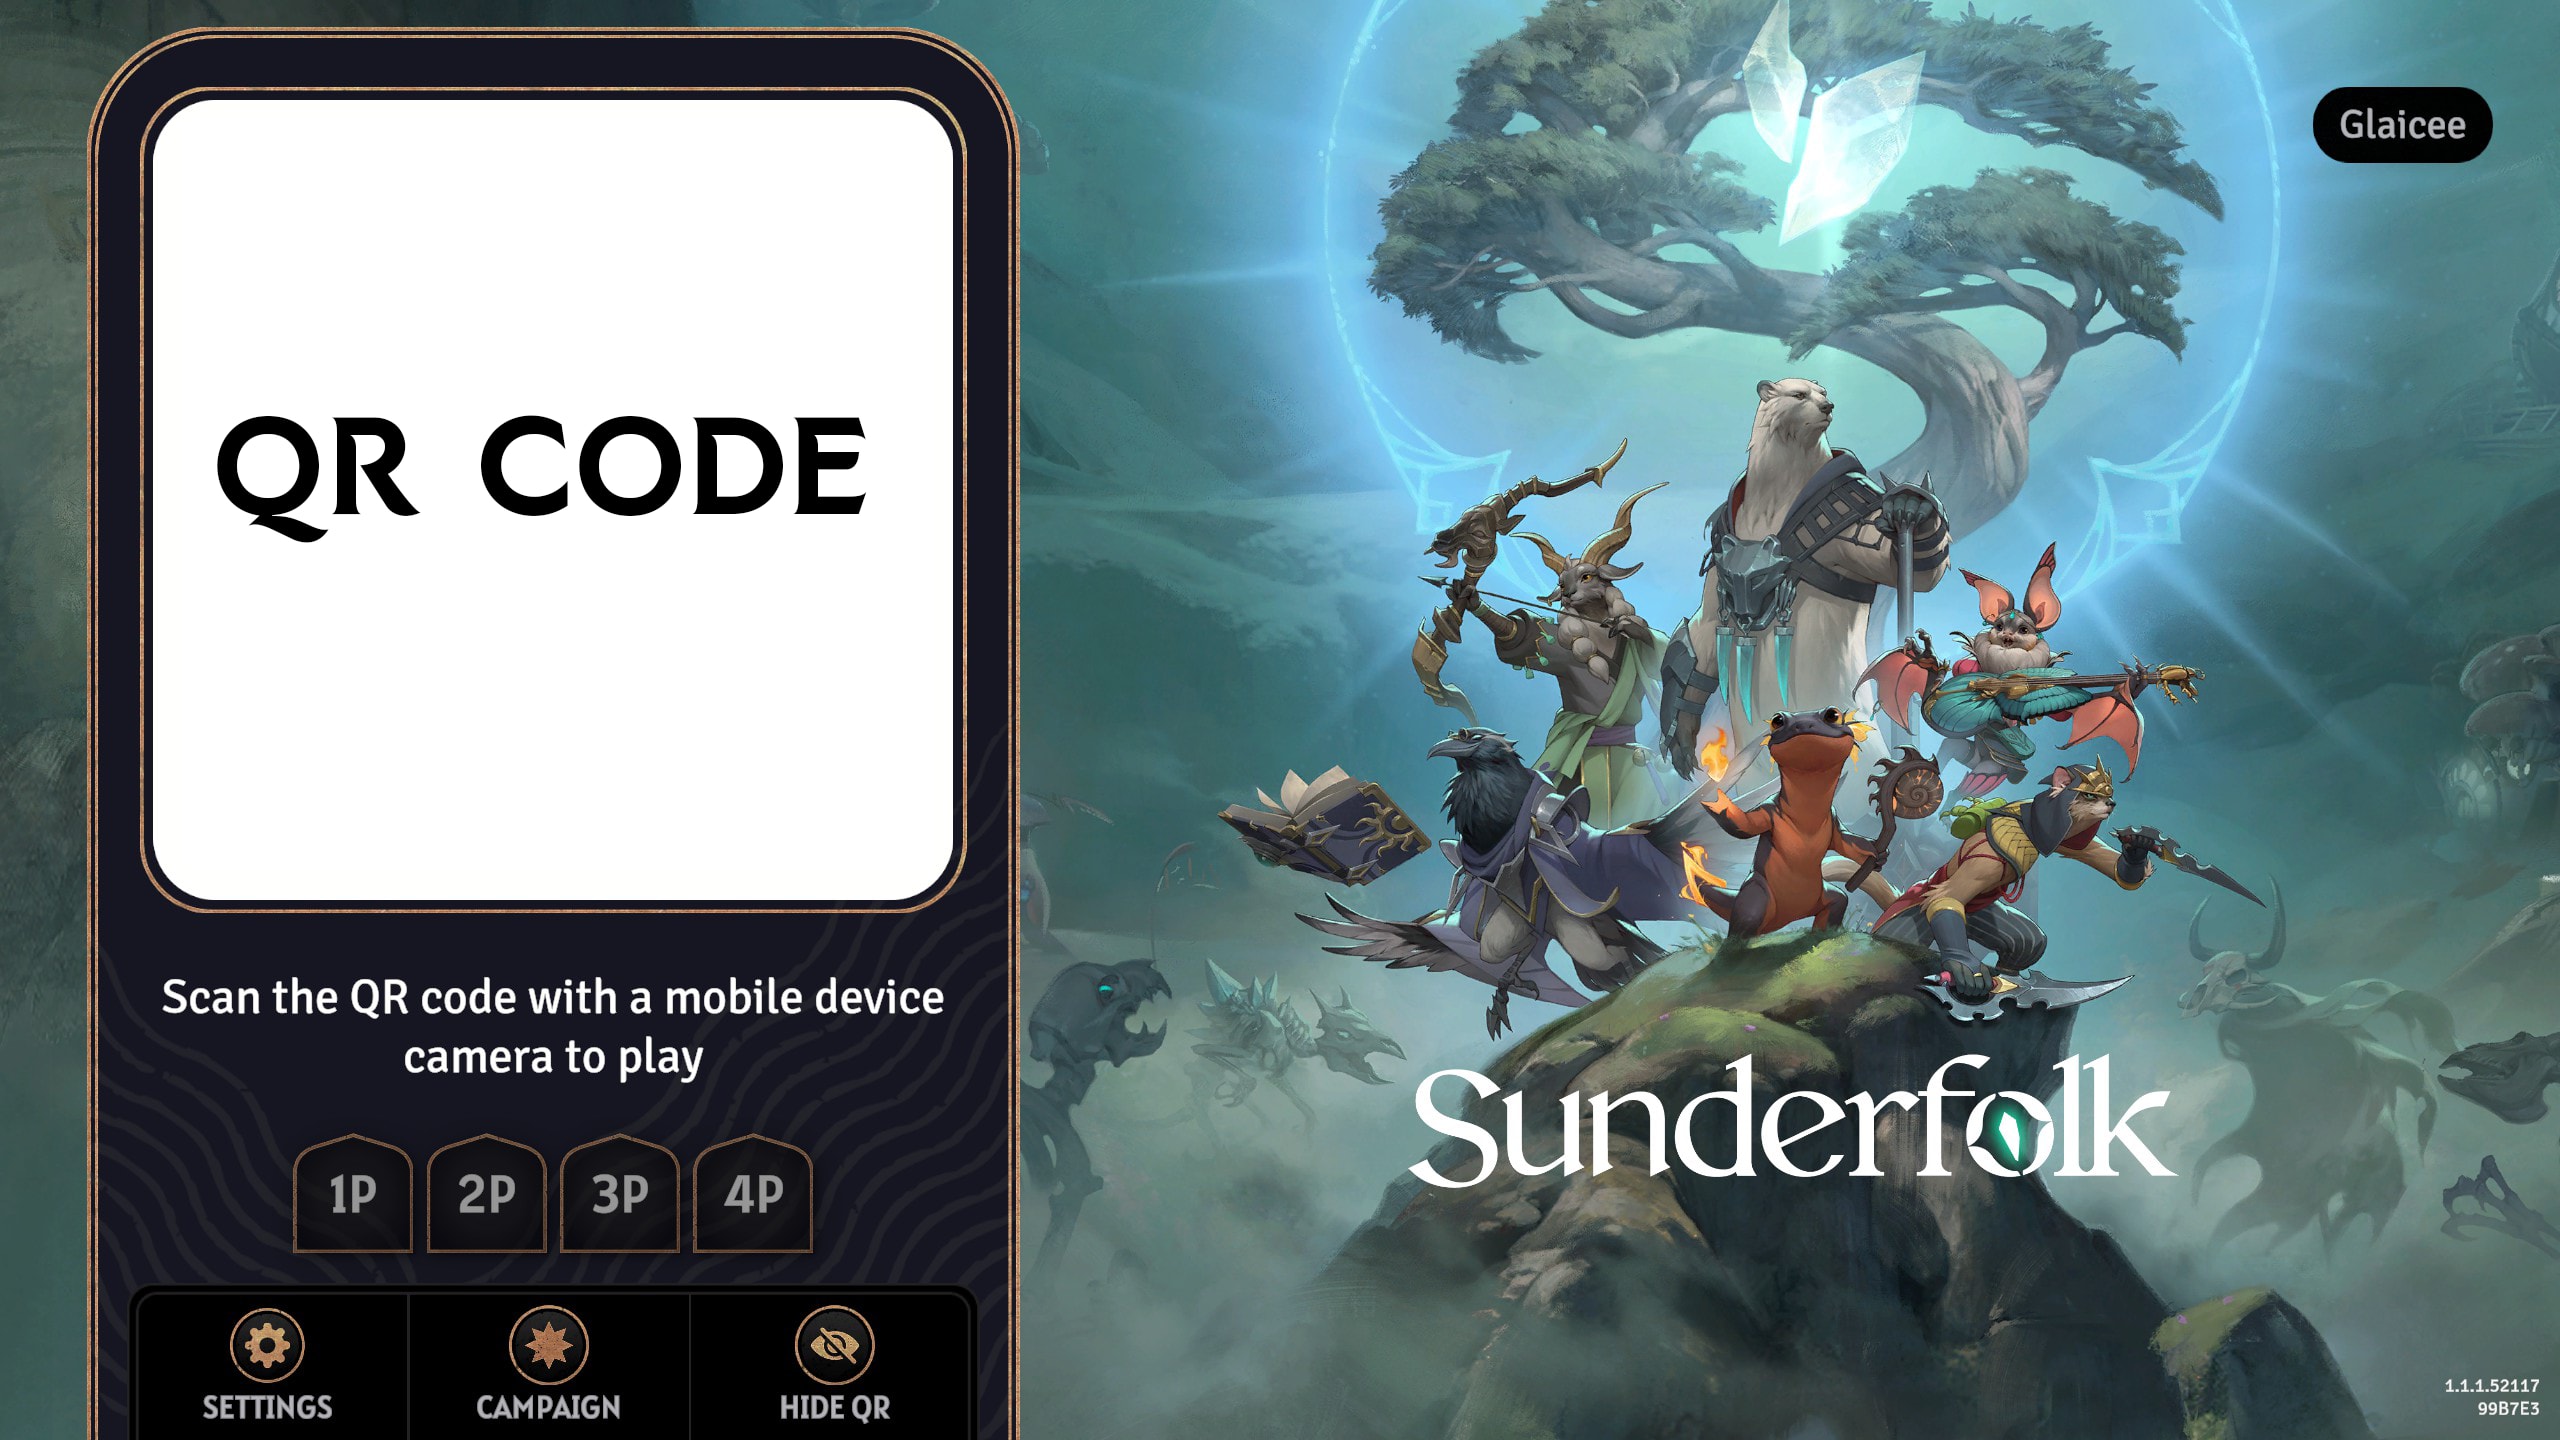
Once you’ve chosen your friends to party with you (or are undertaking this adventure solo) you’ll start up Sunderfolk, and create a new campaign by scanning the QR code shown with your Sunderfolk Controller App.
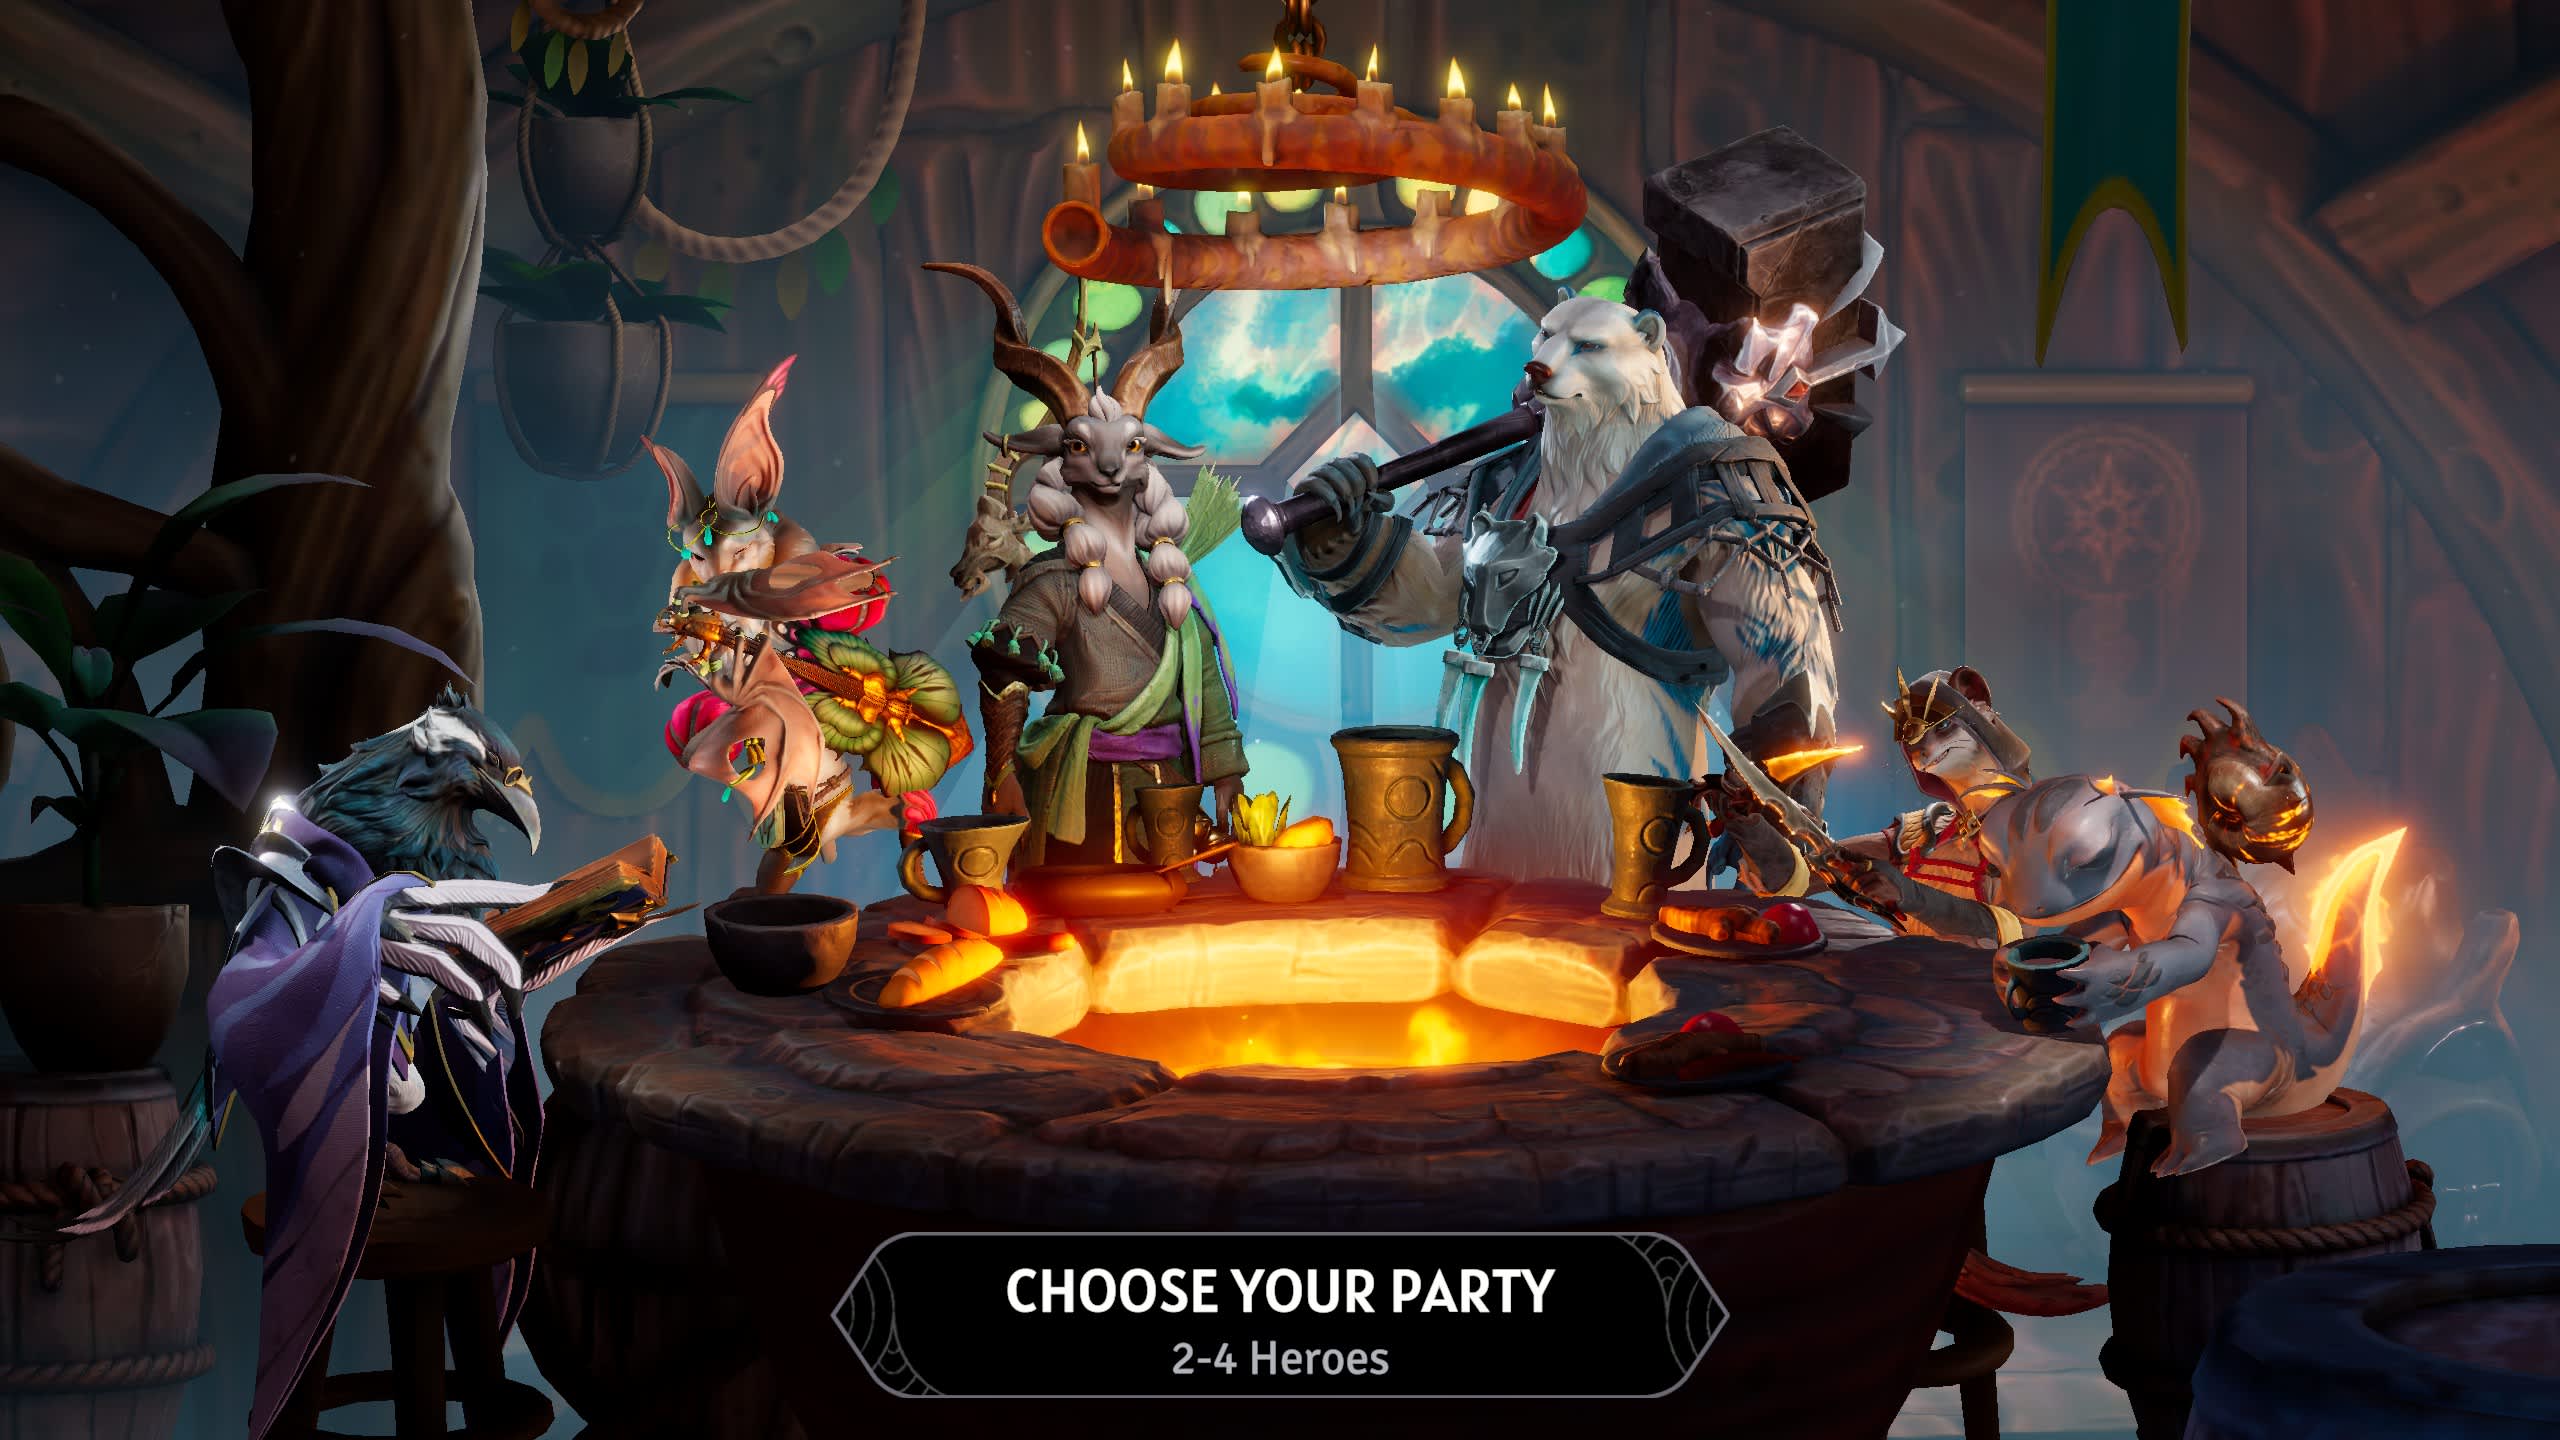
Choose Your Character
The playable characters of Sunderfolk have many titles, but they all share the same mission—to protect the townsfolk of Arden. There are six different characters to choose from, all with their own unique playstyle that fills a vital role within a party.
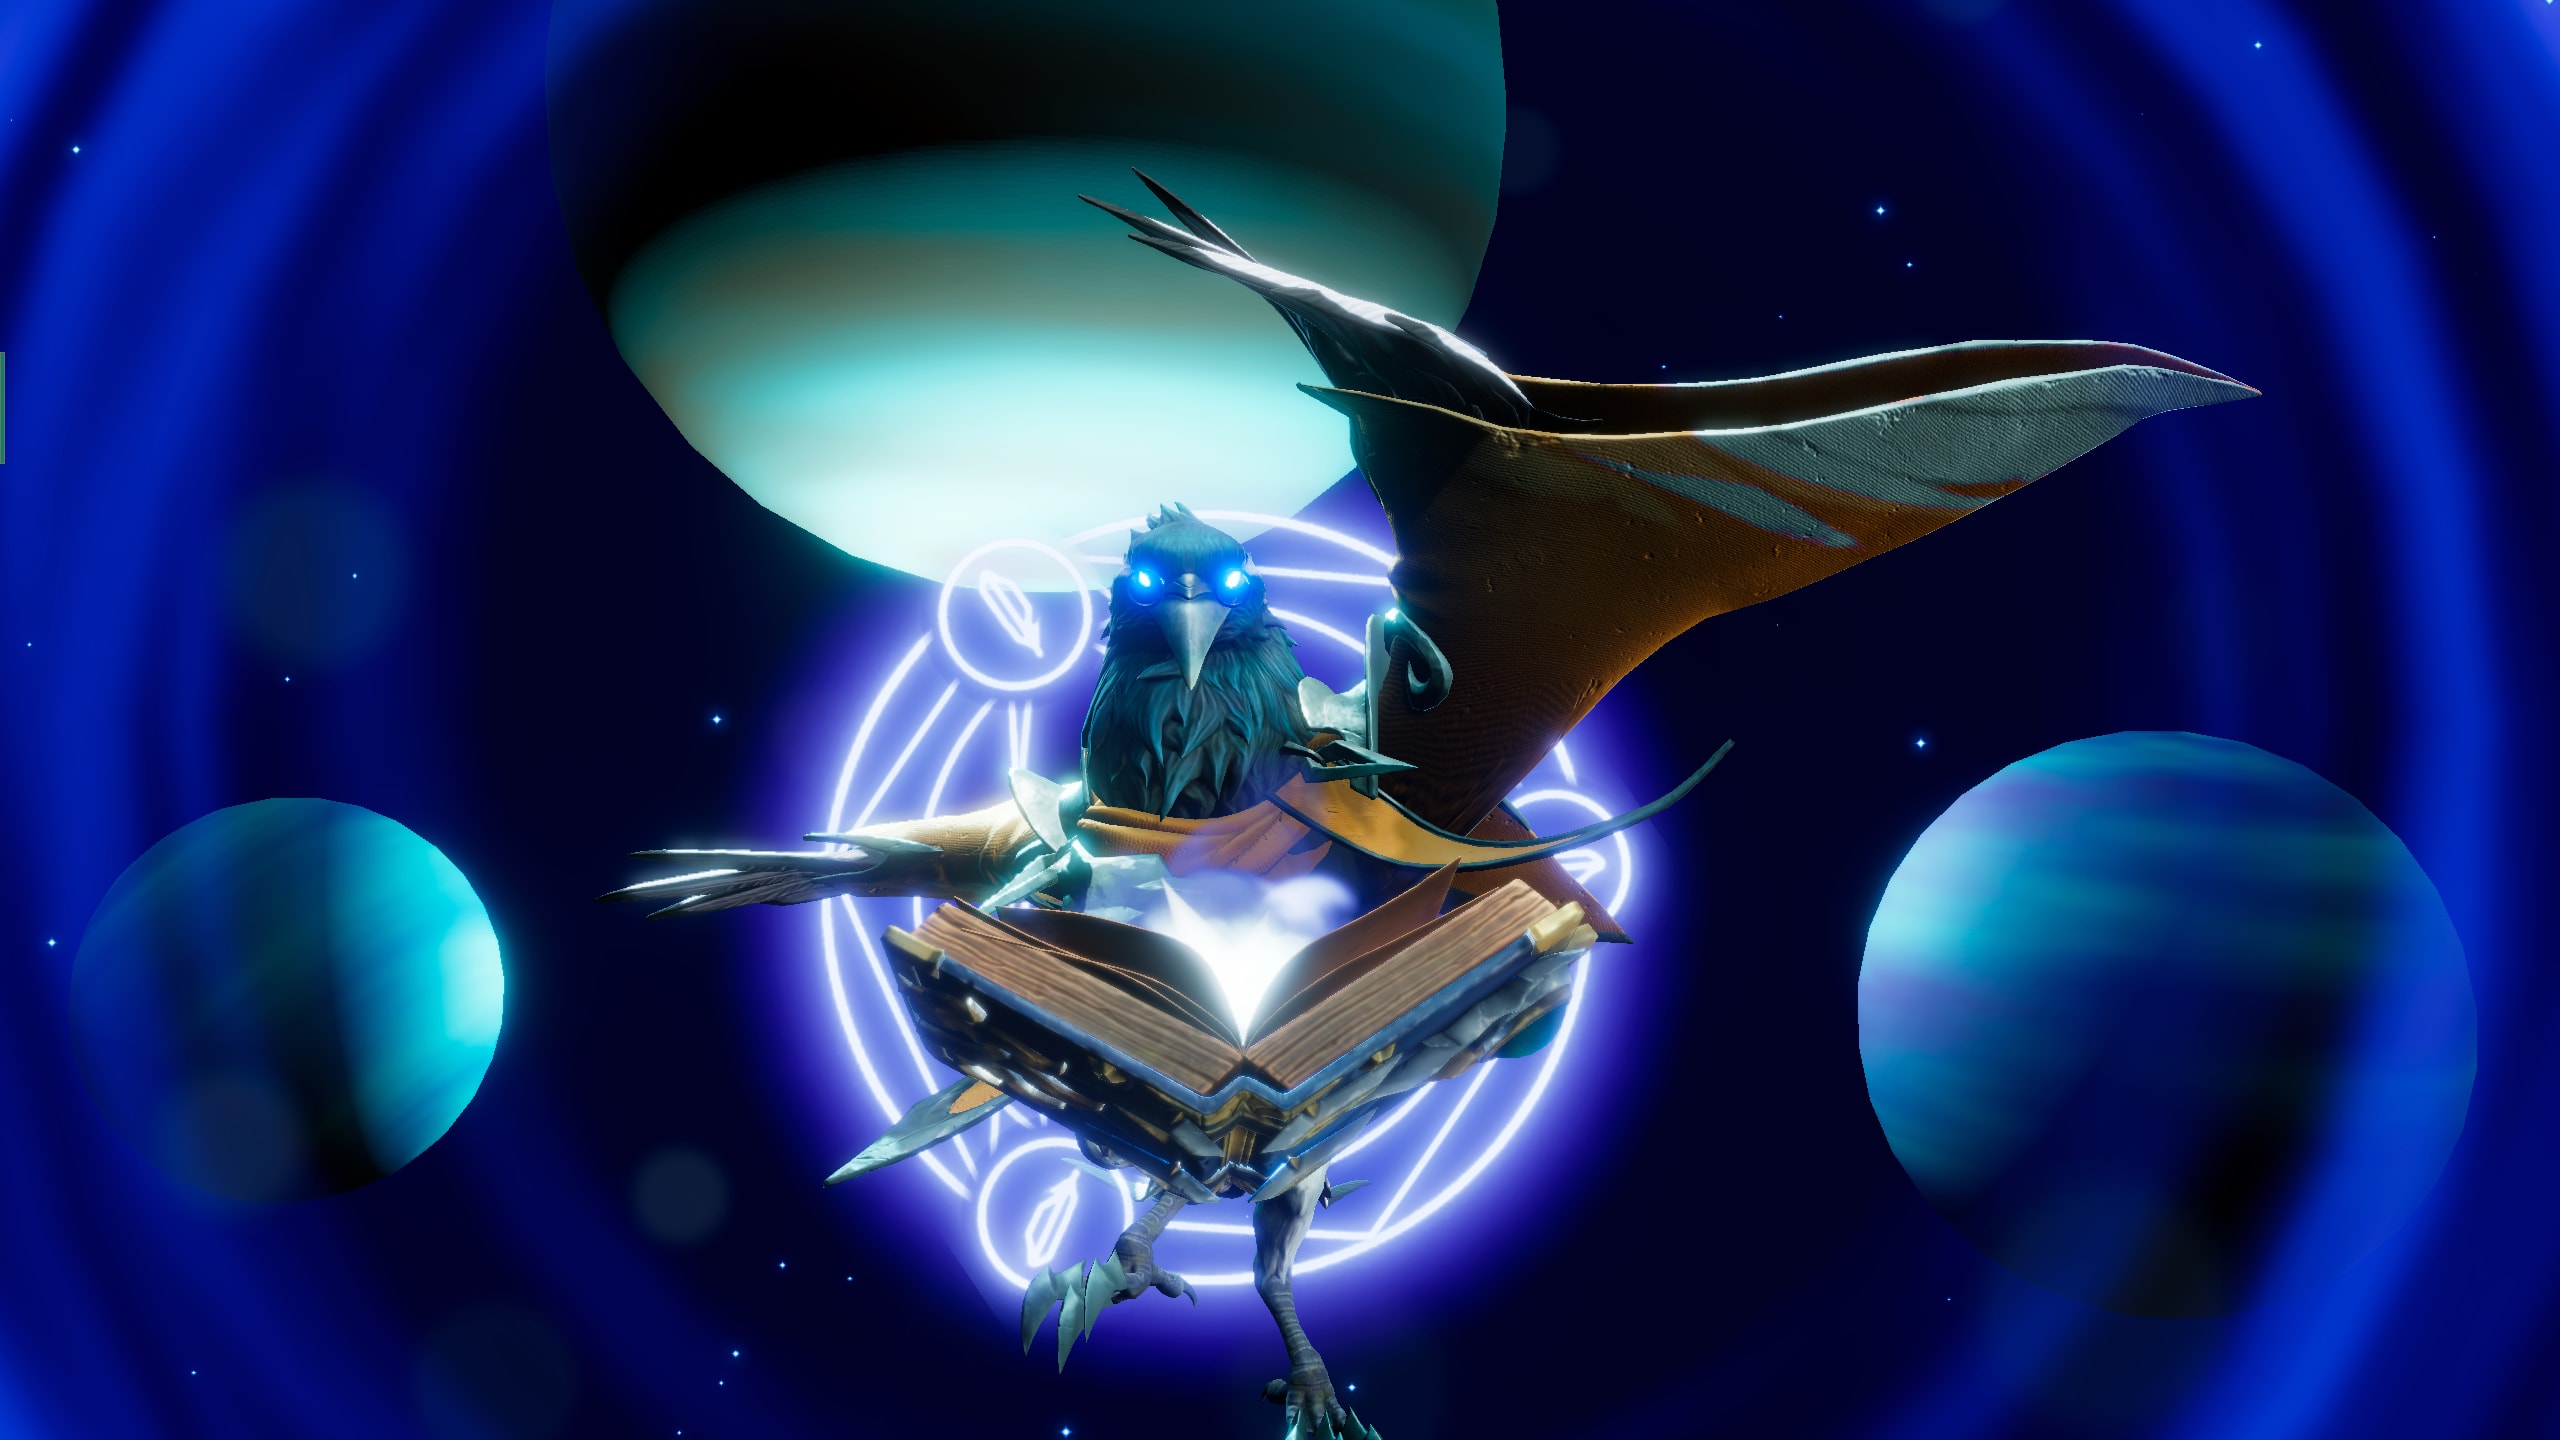
The Arcanist
This corvid conjurer focuses on casting abilities using Mana, a resource that is acquired both passively and through select abilities. Their most powerful spells are locked behind a higher Mana cost, but what those spells lose in early Round availability they make up for in sheer utility and damage.
You'll also gain an extra ability that will always be available in your deck: Mana Spring. This ability allows you to regain a large amount of Mana based on how many characters are adjacent to you at the time of its use — including enemies!

The Bard
Using the power of music, the Bard focuses on map manipulation as well as supportive buffs to make their team shine. Their passive, Two-Step, allows for free movement when swapping with a character or ally, allowing for extra movement and board manipulation.
You can drop Music Notes, which are supportive buffs for your party, by swapping positions (as long as Two-Step is available). Using certain abilities, or utilizing select trinkets and weapons, can fill the battlefield with buffs. However, those can be trampled by enemies, so choose your positioning carefully!
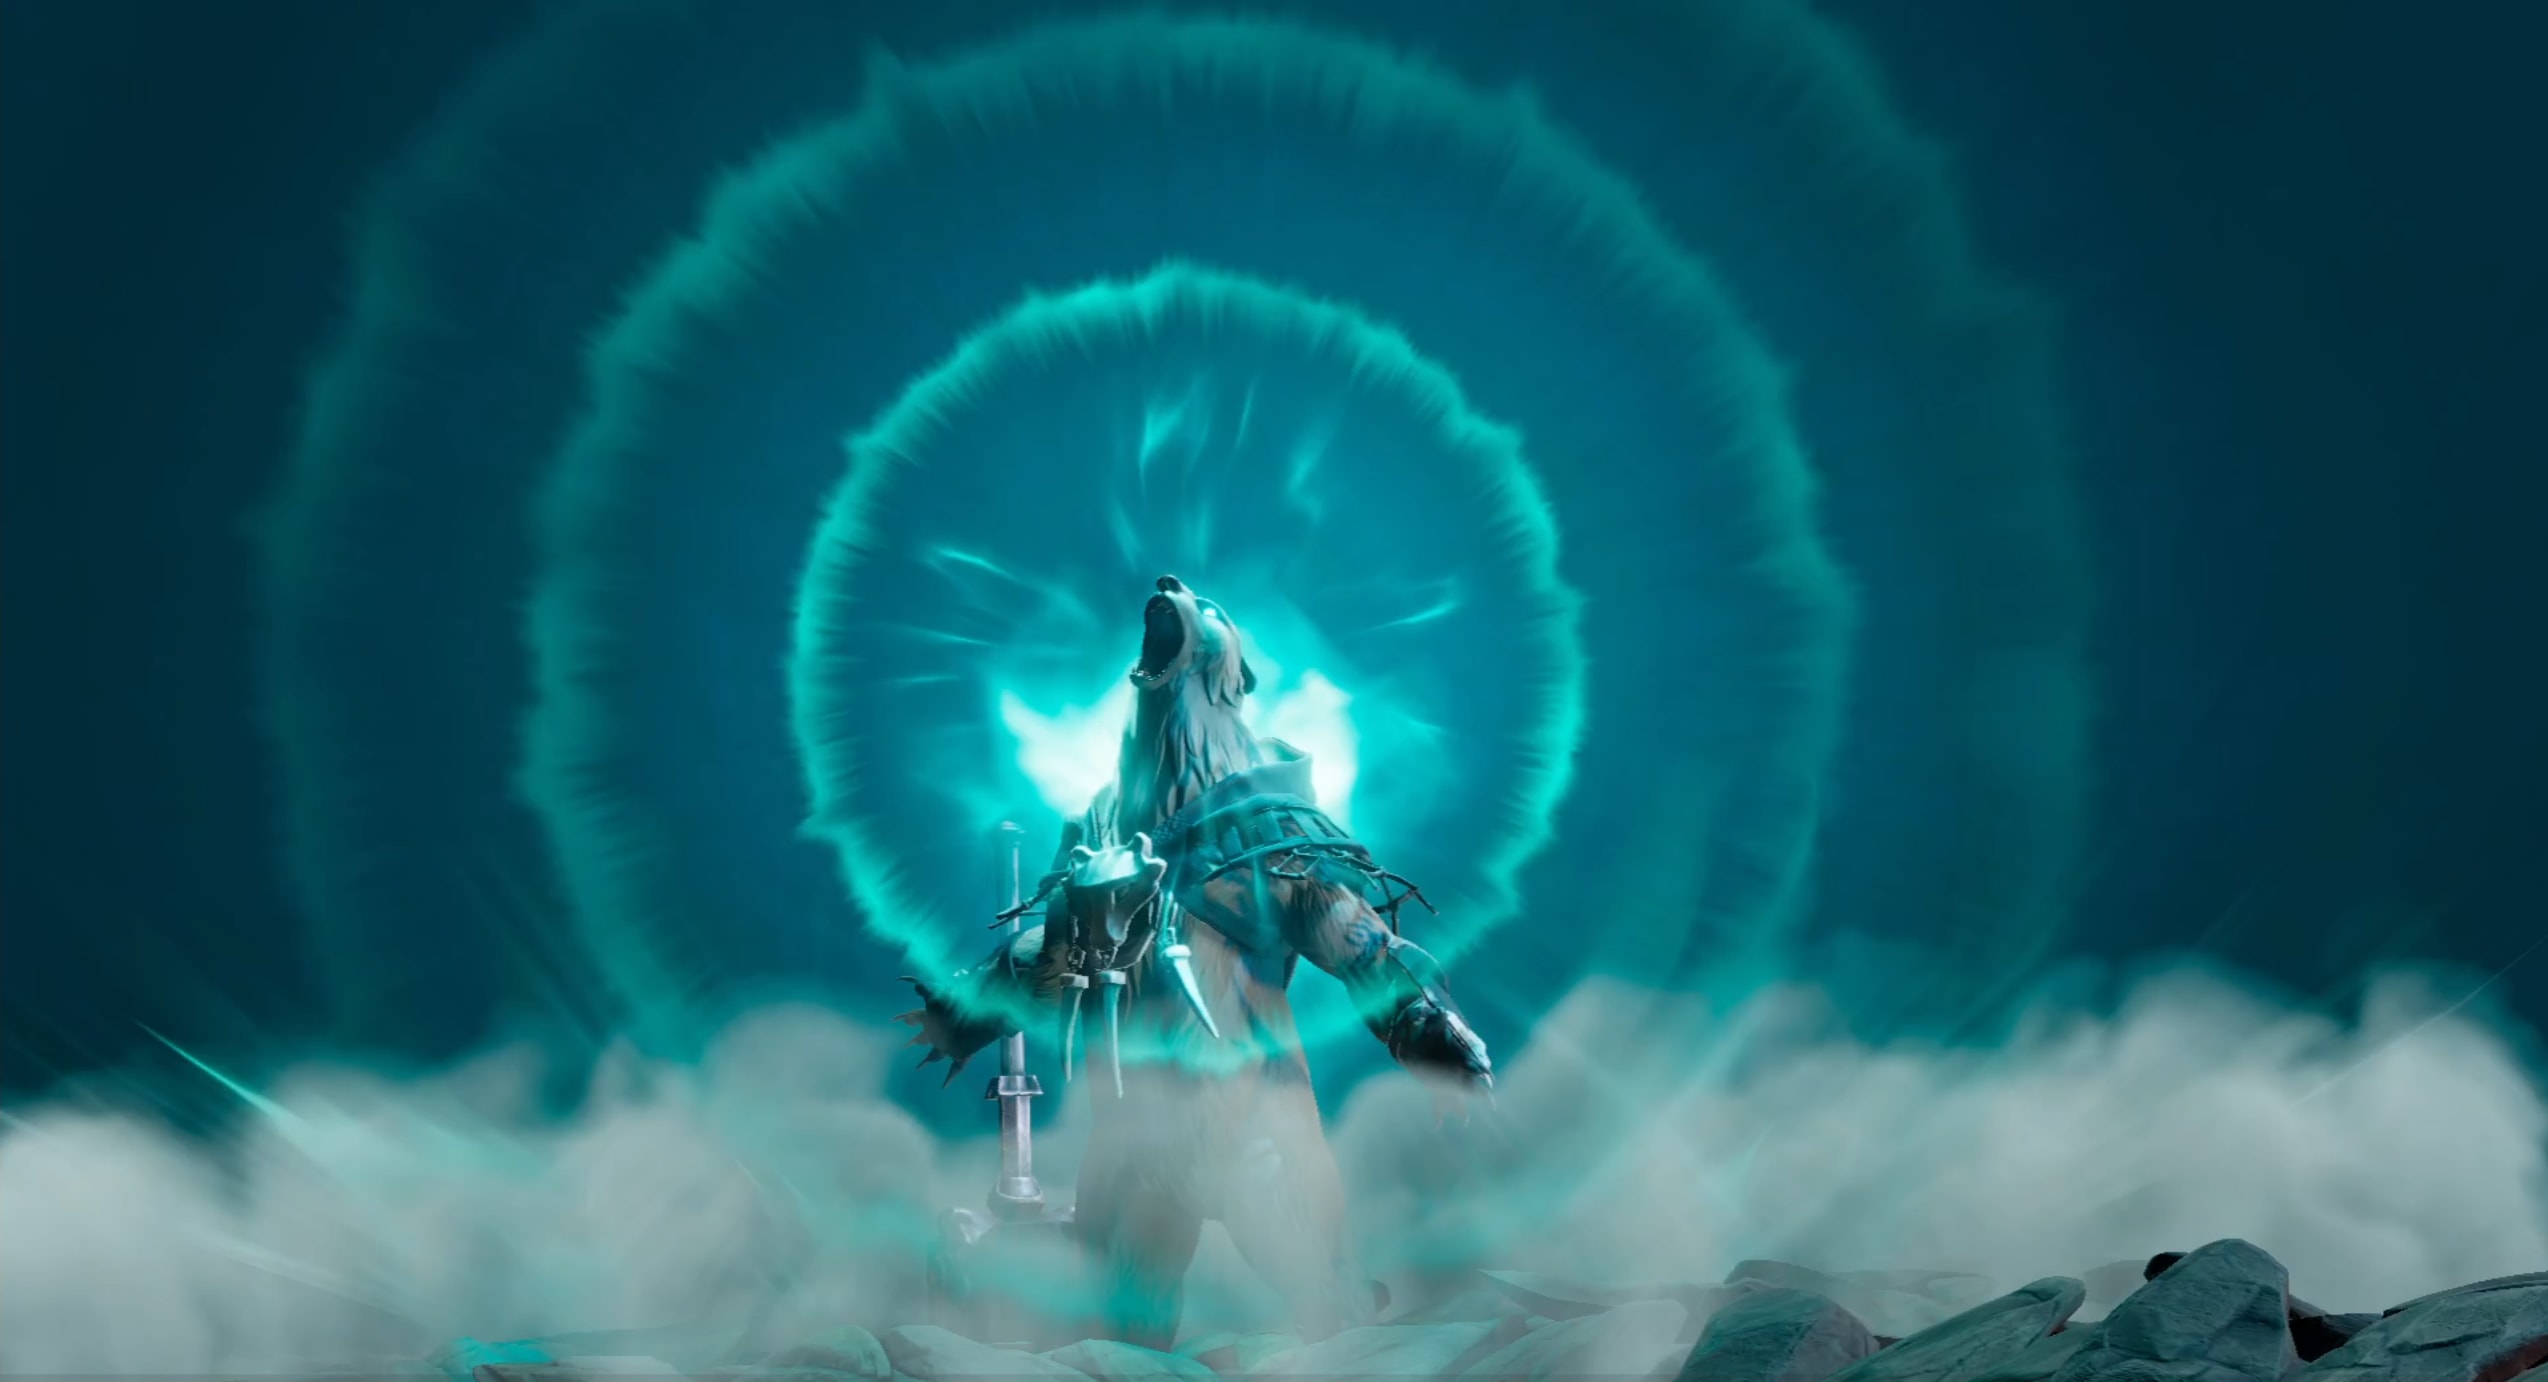
The Berserker
While the Berserker may seem no more than a simple tank at first glance, their wide array of combat abilities—paired with their staggering selection of self buffs—allows them to roar in the face of danger (sometimes literally!).
Their passive is Protector’s Fury,which makes the Berserker take less damage and deal more damage as long it’s active. It’s not only effective against enemy attacks, but will also work for any external damage, such as environmental tiles like lava and fire. The only catch is that you need to be HIT first before it activates… so get in there and get mad.

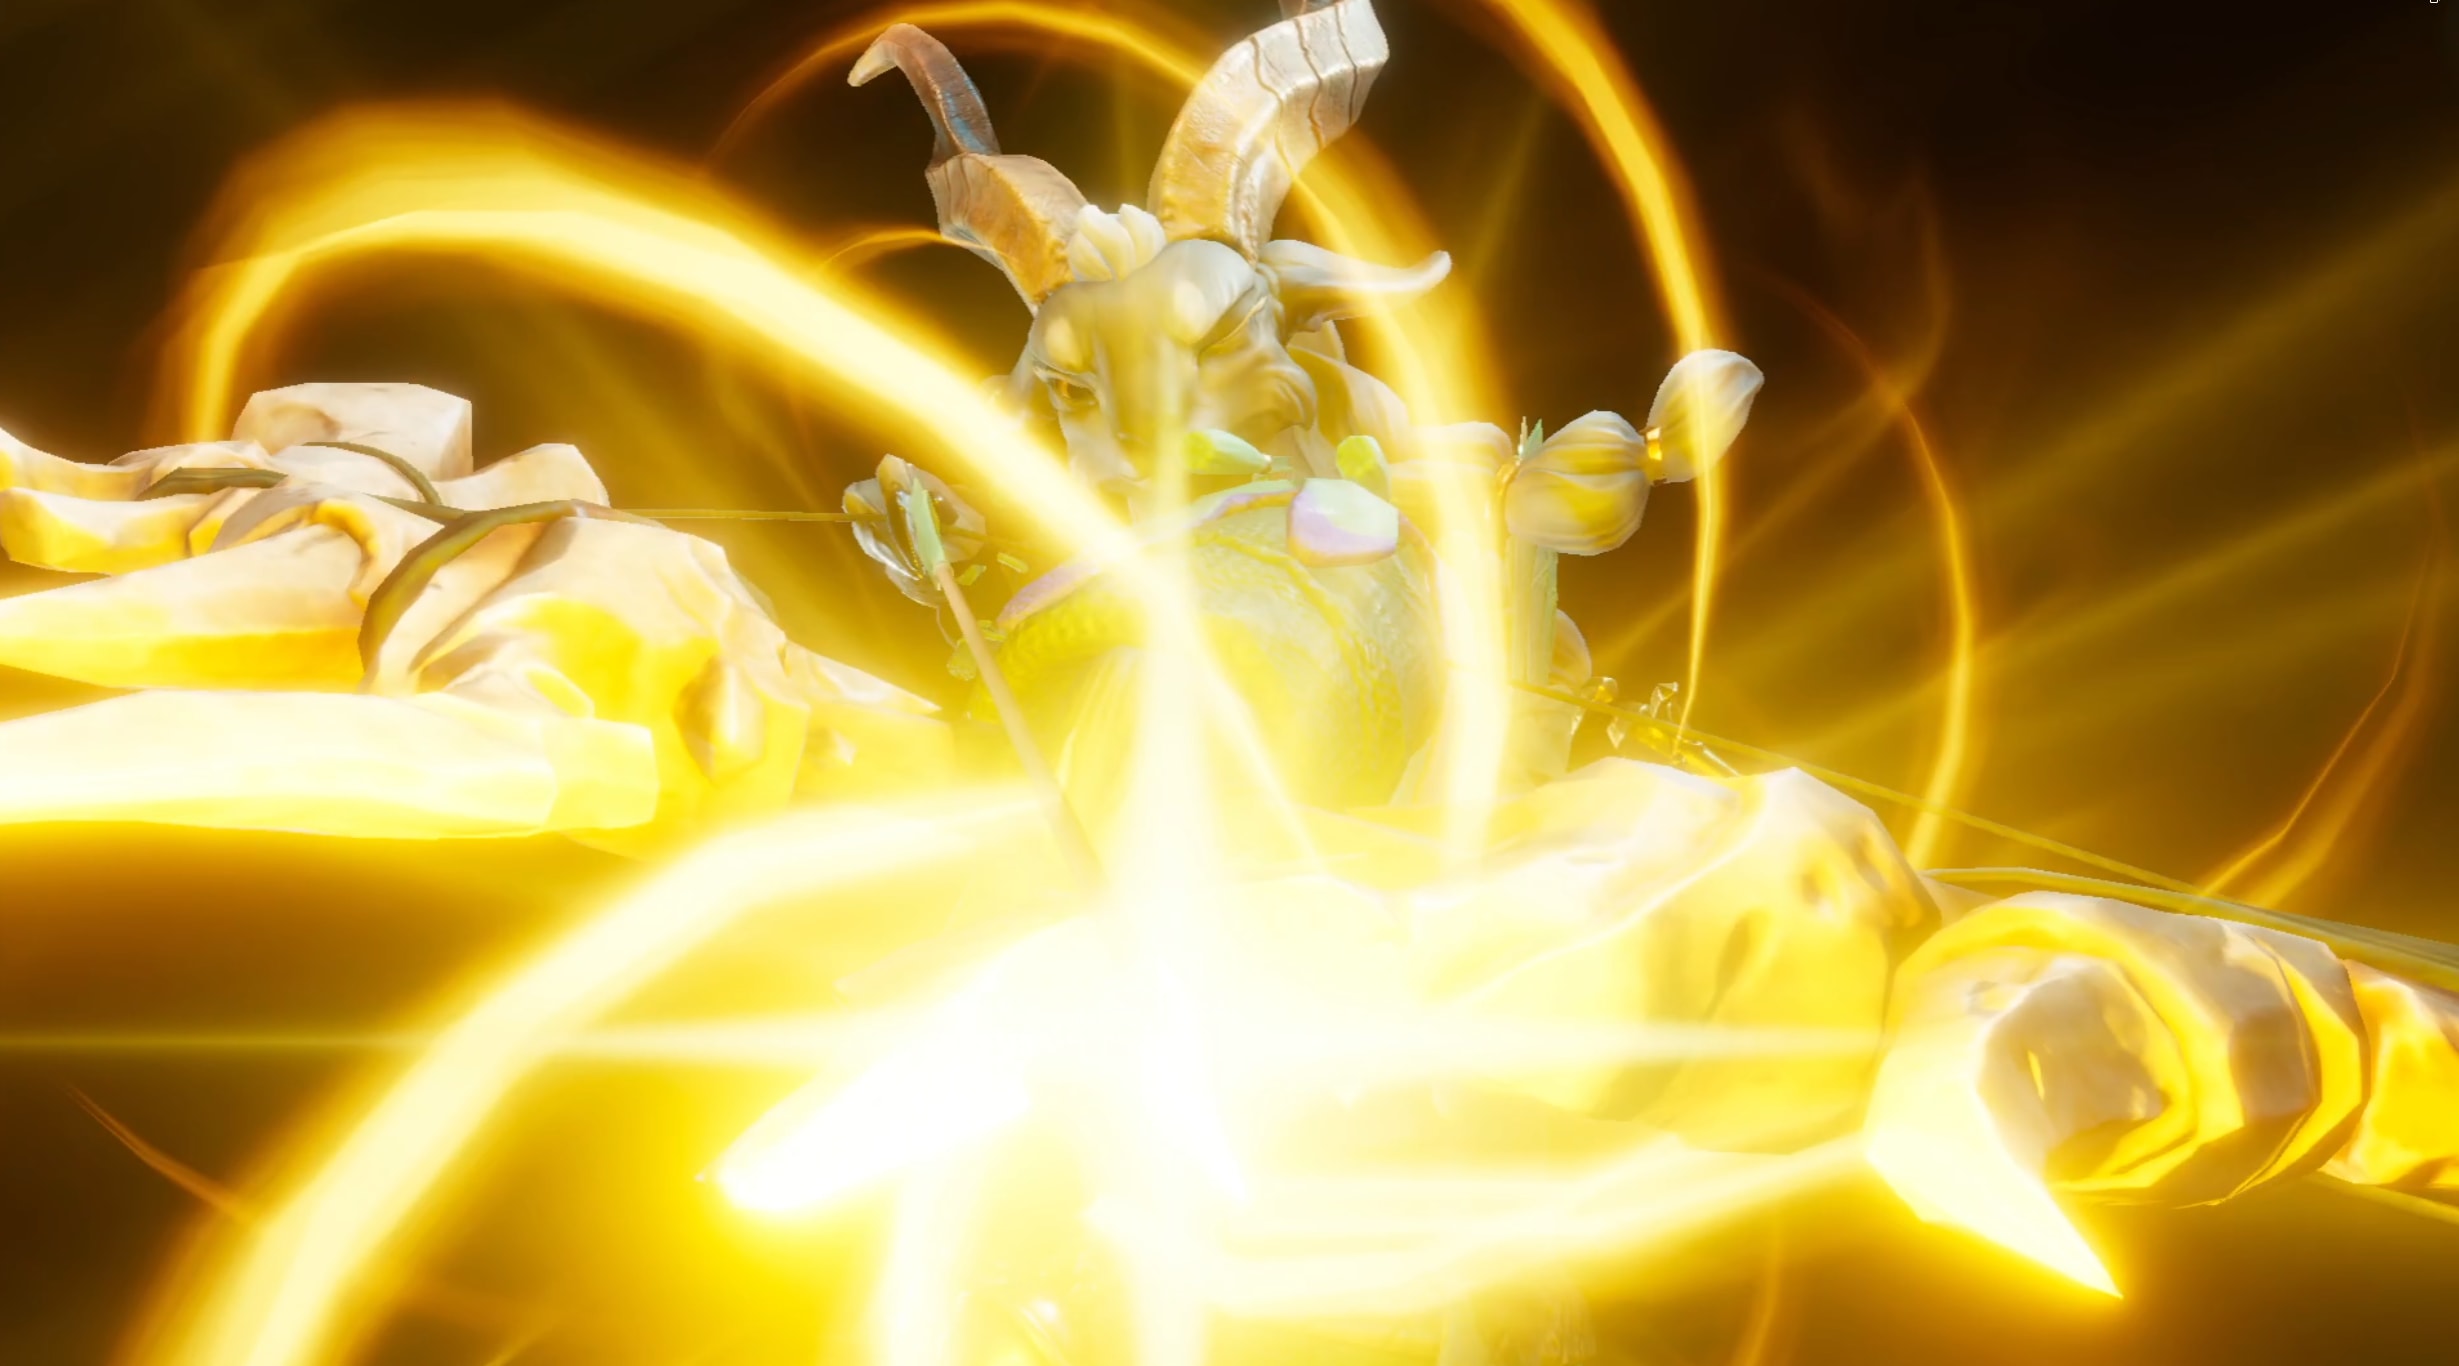
The Pyromancer
The Pyromancer might look adorable, but they’re a confined inferno and they need to let it out. Fire’s the name of the game, and unleashing it is the prize. The Pyromancer really gets their power by absorbing Fire, then unleashing it through their abilities. Any fire is applicable, whether it’s from their own spells, enemy attacks, or any fire just laying around.
Each stack of Firepower, their passive ability, gives +2 to each attack, and they can stack it up to 3 times.
The Ranger
The Ranger is a perfect mix of damage and support, with focuses on ranged combat, debuffing enemies, and providing crowd control abilities. Their main source of damage comes from their passive, Precision, which lets you deal more damage when the range requirement is met and inflicts a debuff.
They also have light repositioning abilities that can not only be used to push away enemies, but can help you give your allies the needed push to get right into position and deal more damage!
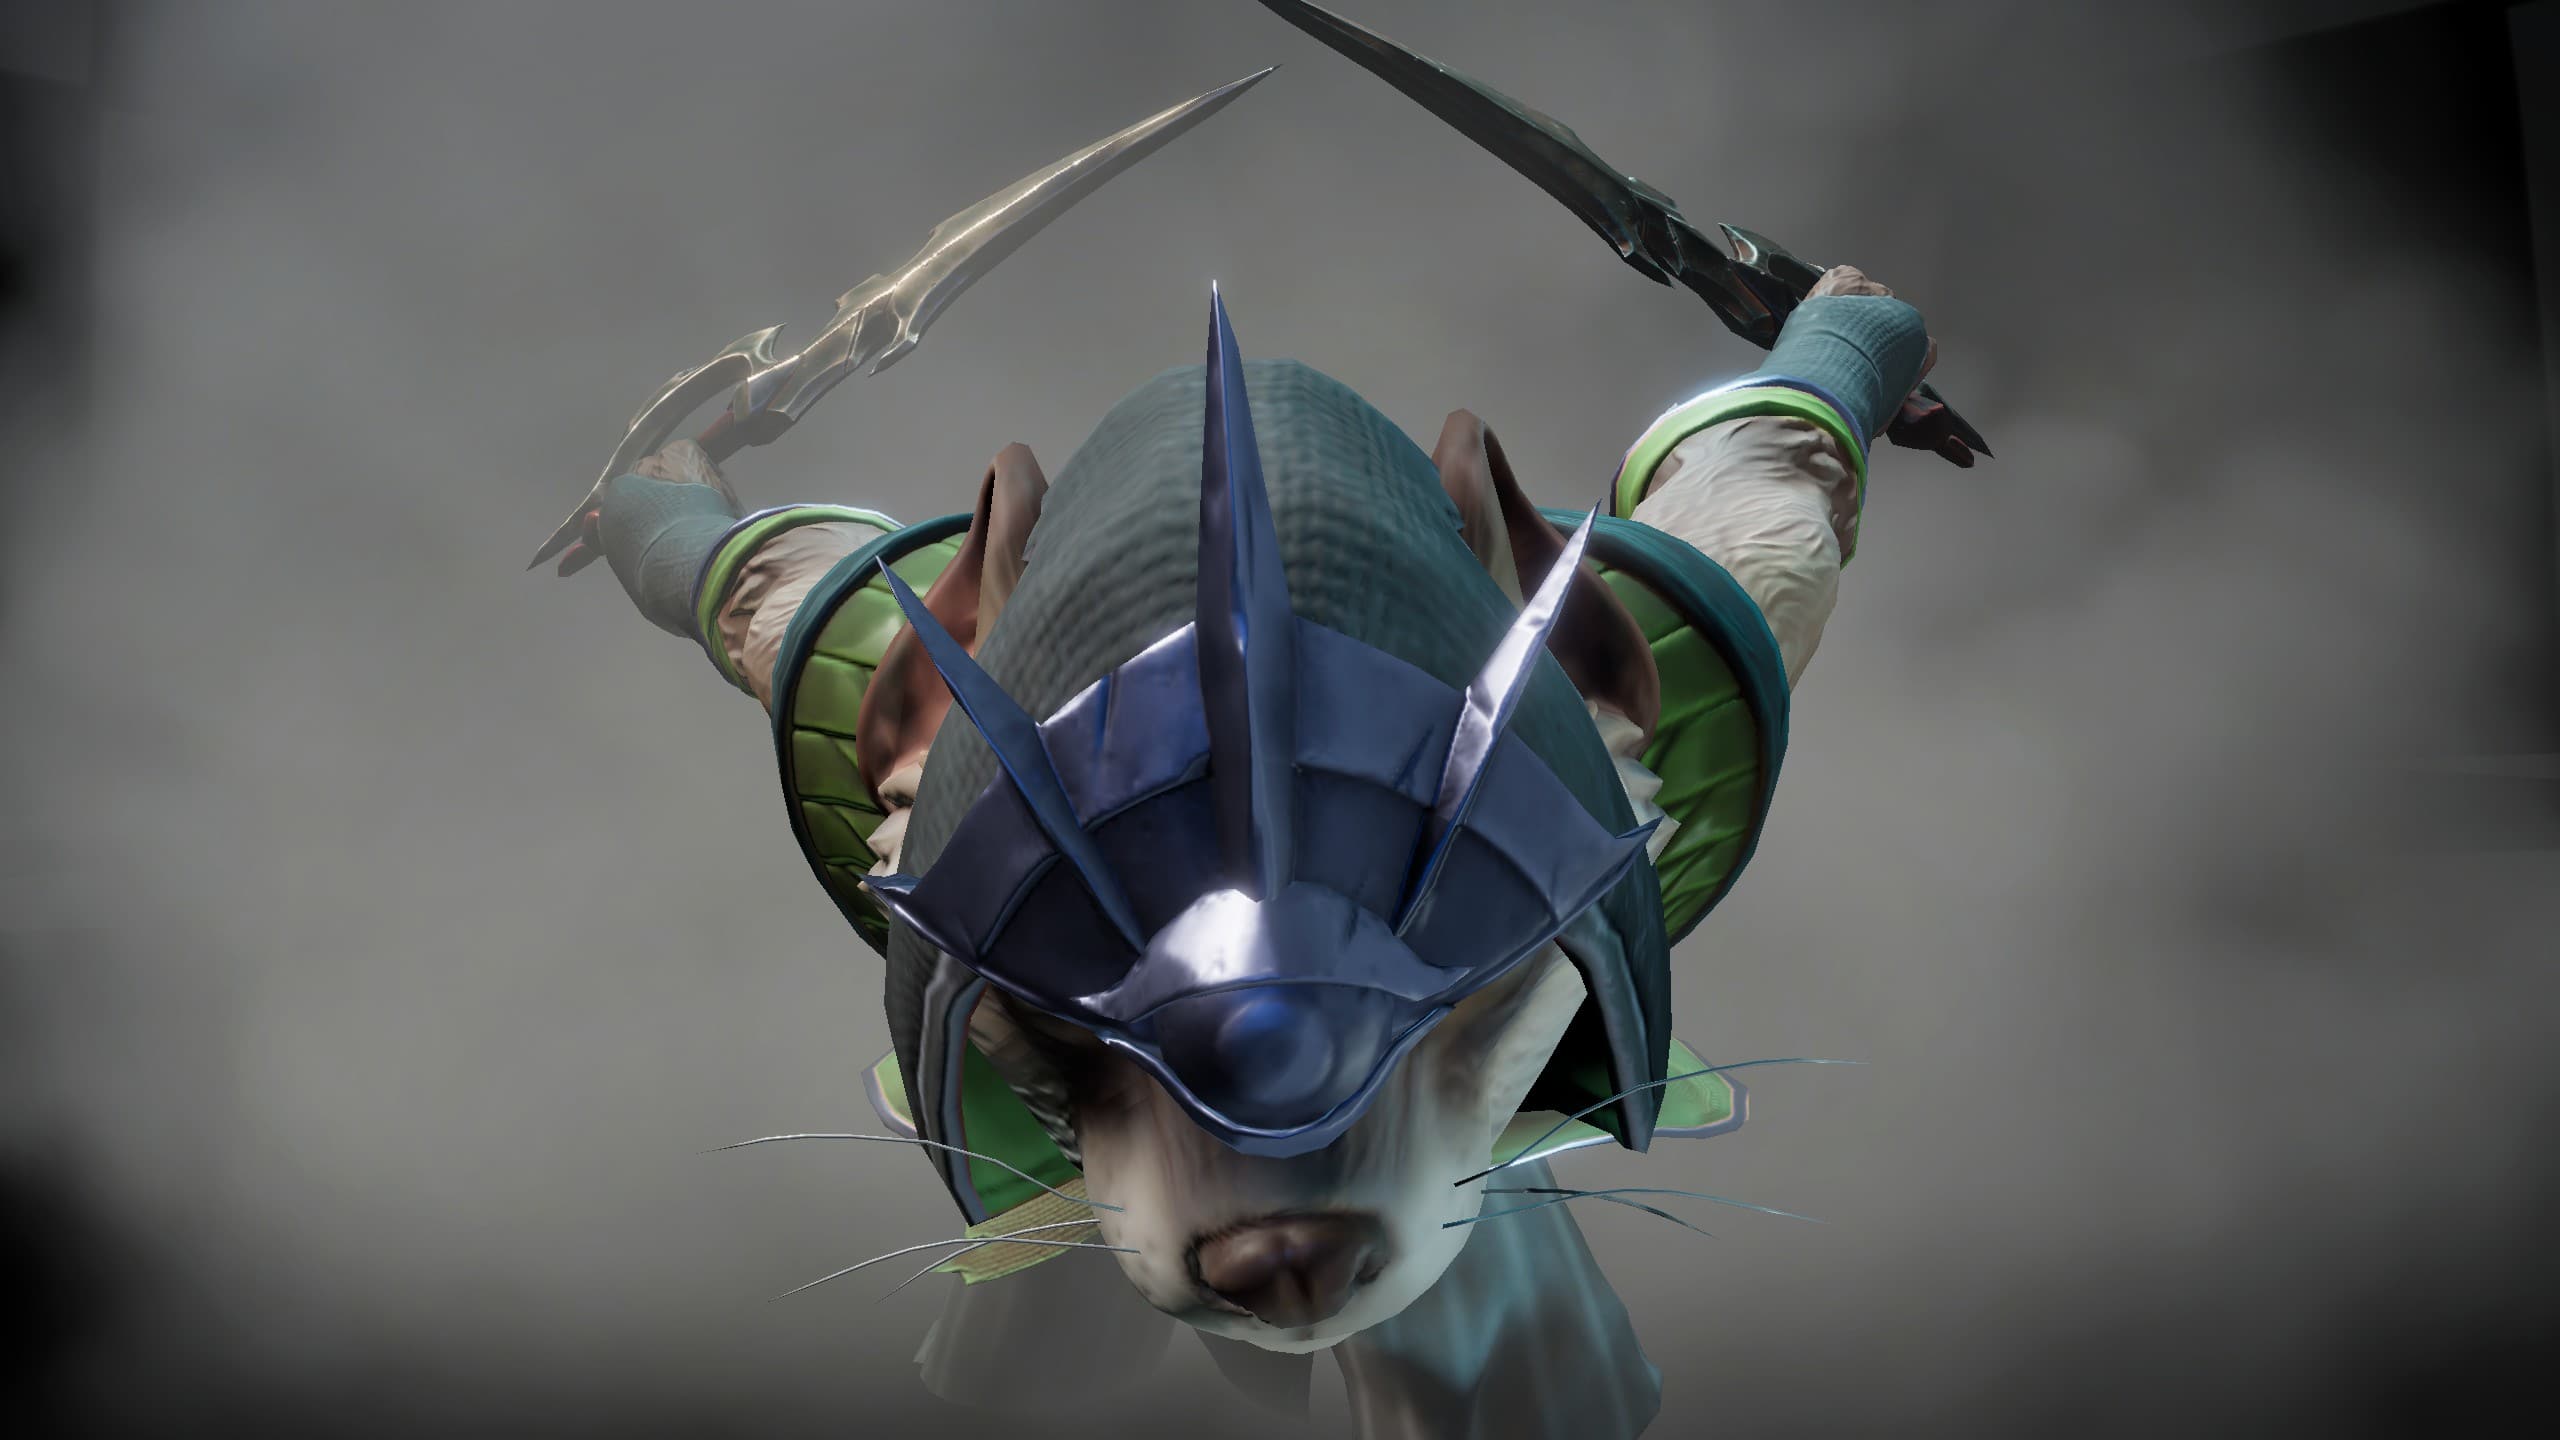
The Rogue
The Rogue may primarily serve as a damage class, but don’t let that fool you—they can also be a reliable tank with their Shroud ability!
Shroud allows the Rogue to envelop themselves in shadow, allowing them to automatically dodge any damage source once, as well as deal extra damage when active. However, you’ll lose Shroud if you’re hit by any source of damage, so try to avoid that.
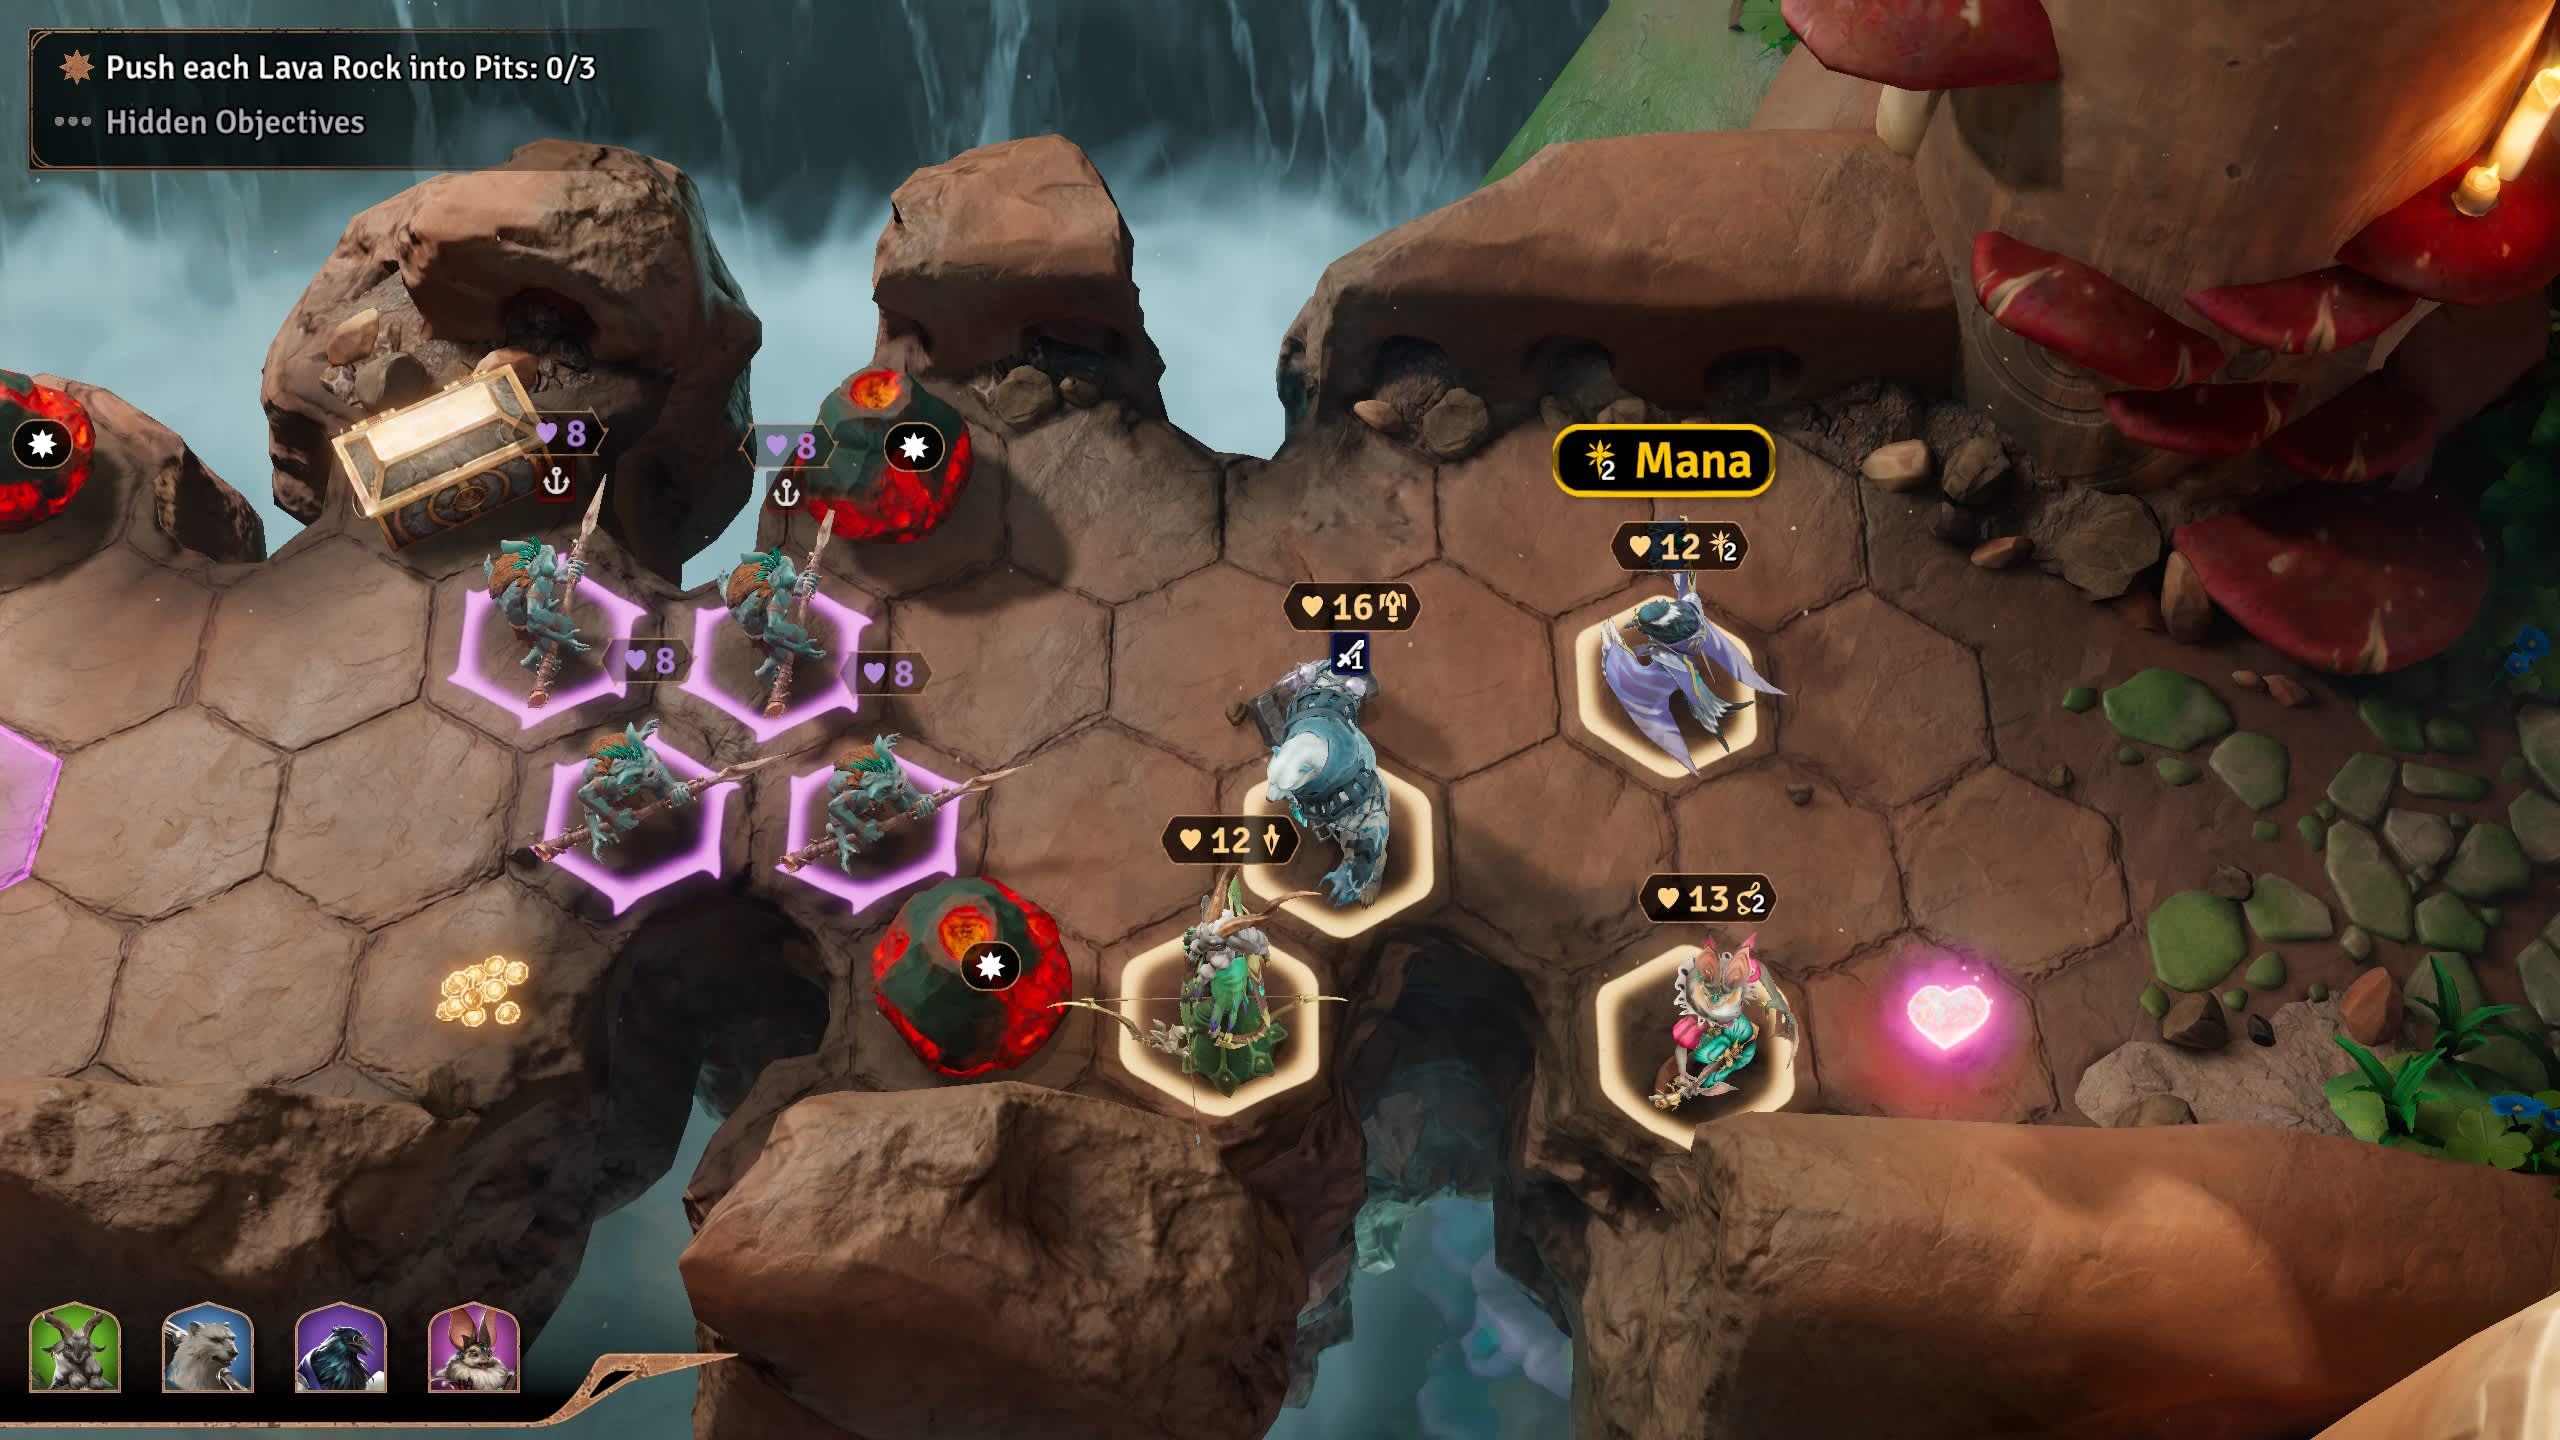
Combat in Sunderfolk
Sunderfolk utilizes party turn-based, strategy combat separated into Rounds. Each Round of combat encompasses:
Character Turn - You and your party members take their turns
Monster Turn - Your foes take their actions
Ally Turn - If you have NPC allies, they’ll act here
There are no turn orders for your and your party, allowing for flexibility in your strategies.
Tip: When you move, each hex tile counts as one movement! Pushing an enemy or swapping with an ally also counts as one movement.
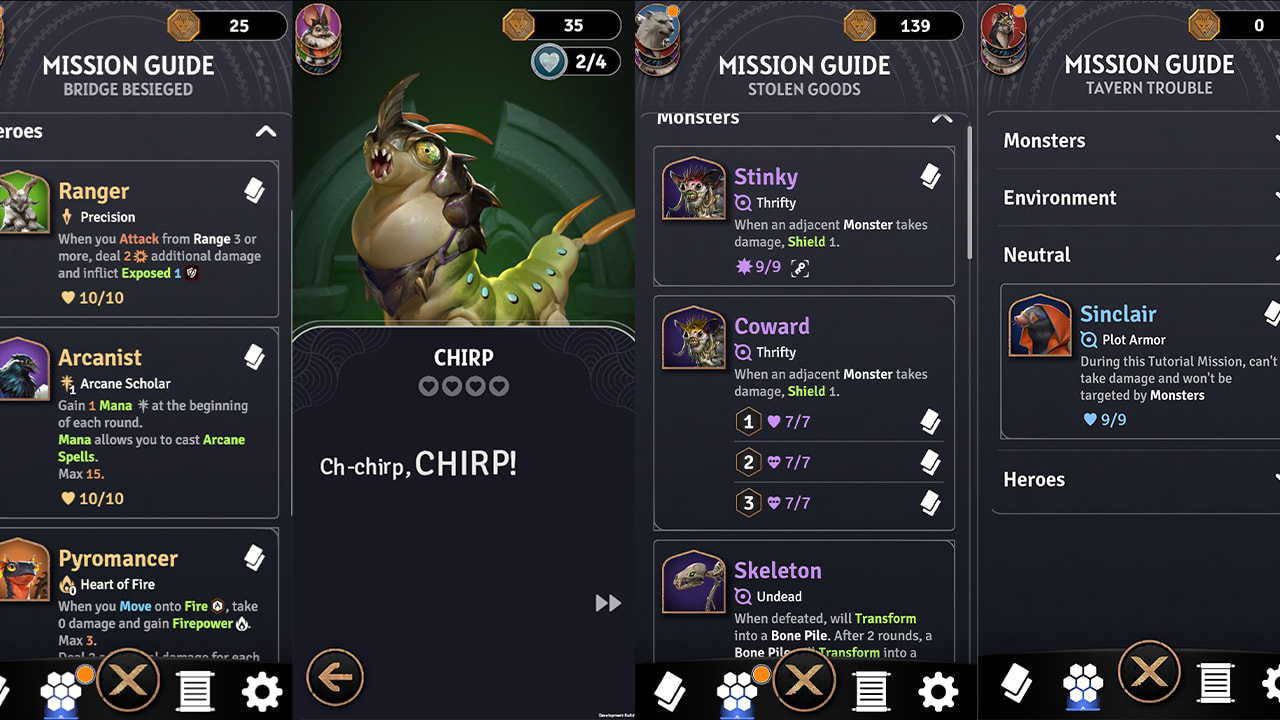
Mission Guide
Once you’re in a Mission, you can view your character Skill Cards, passives, equipped items, and remaining Fate Cards all in one place! The guide will also show enemy abilities, their own Skill Cards, and any environmental hazards such as Lava and Slime.
Town and Upgrades
The town of Arden is where our heroes reside, and your main focus is to defend it from forces that seek to destroy it. However, within its walls await colorful residents who are happy to provide services and conversation! Think of it as your refuge in-between combat missions.
Once in town, you’ll be able to:
Befriend and deepen relationships with the townsfolk.
Rebuild and upgrade Buildings.
Craft and purchase equipment.
Each building you rebuild and upgrade will offer a new bonus for your adventuring needs.
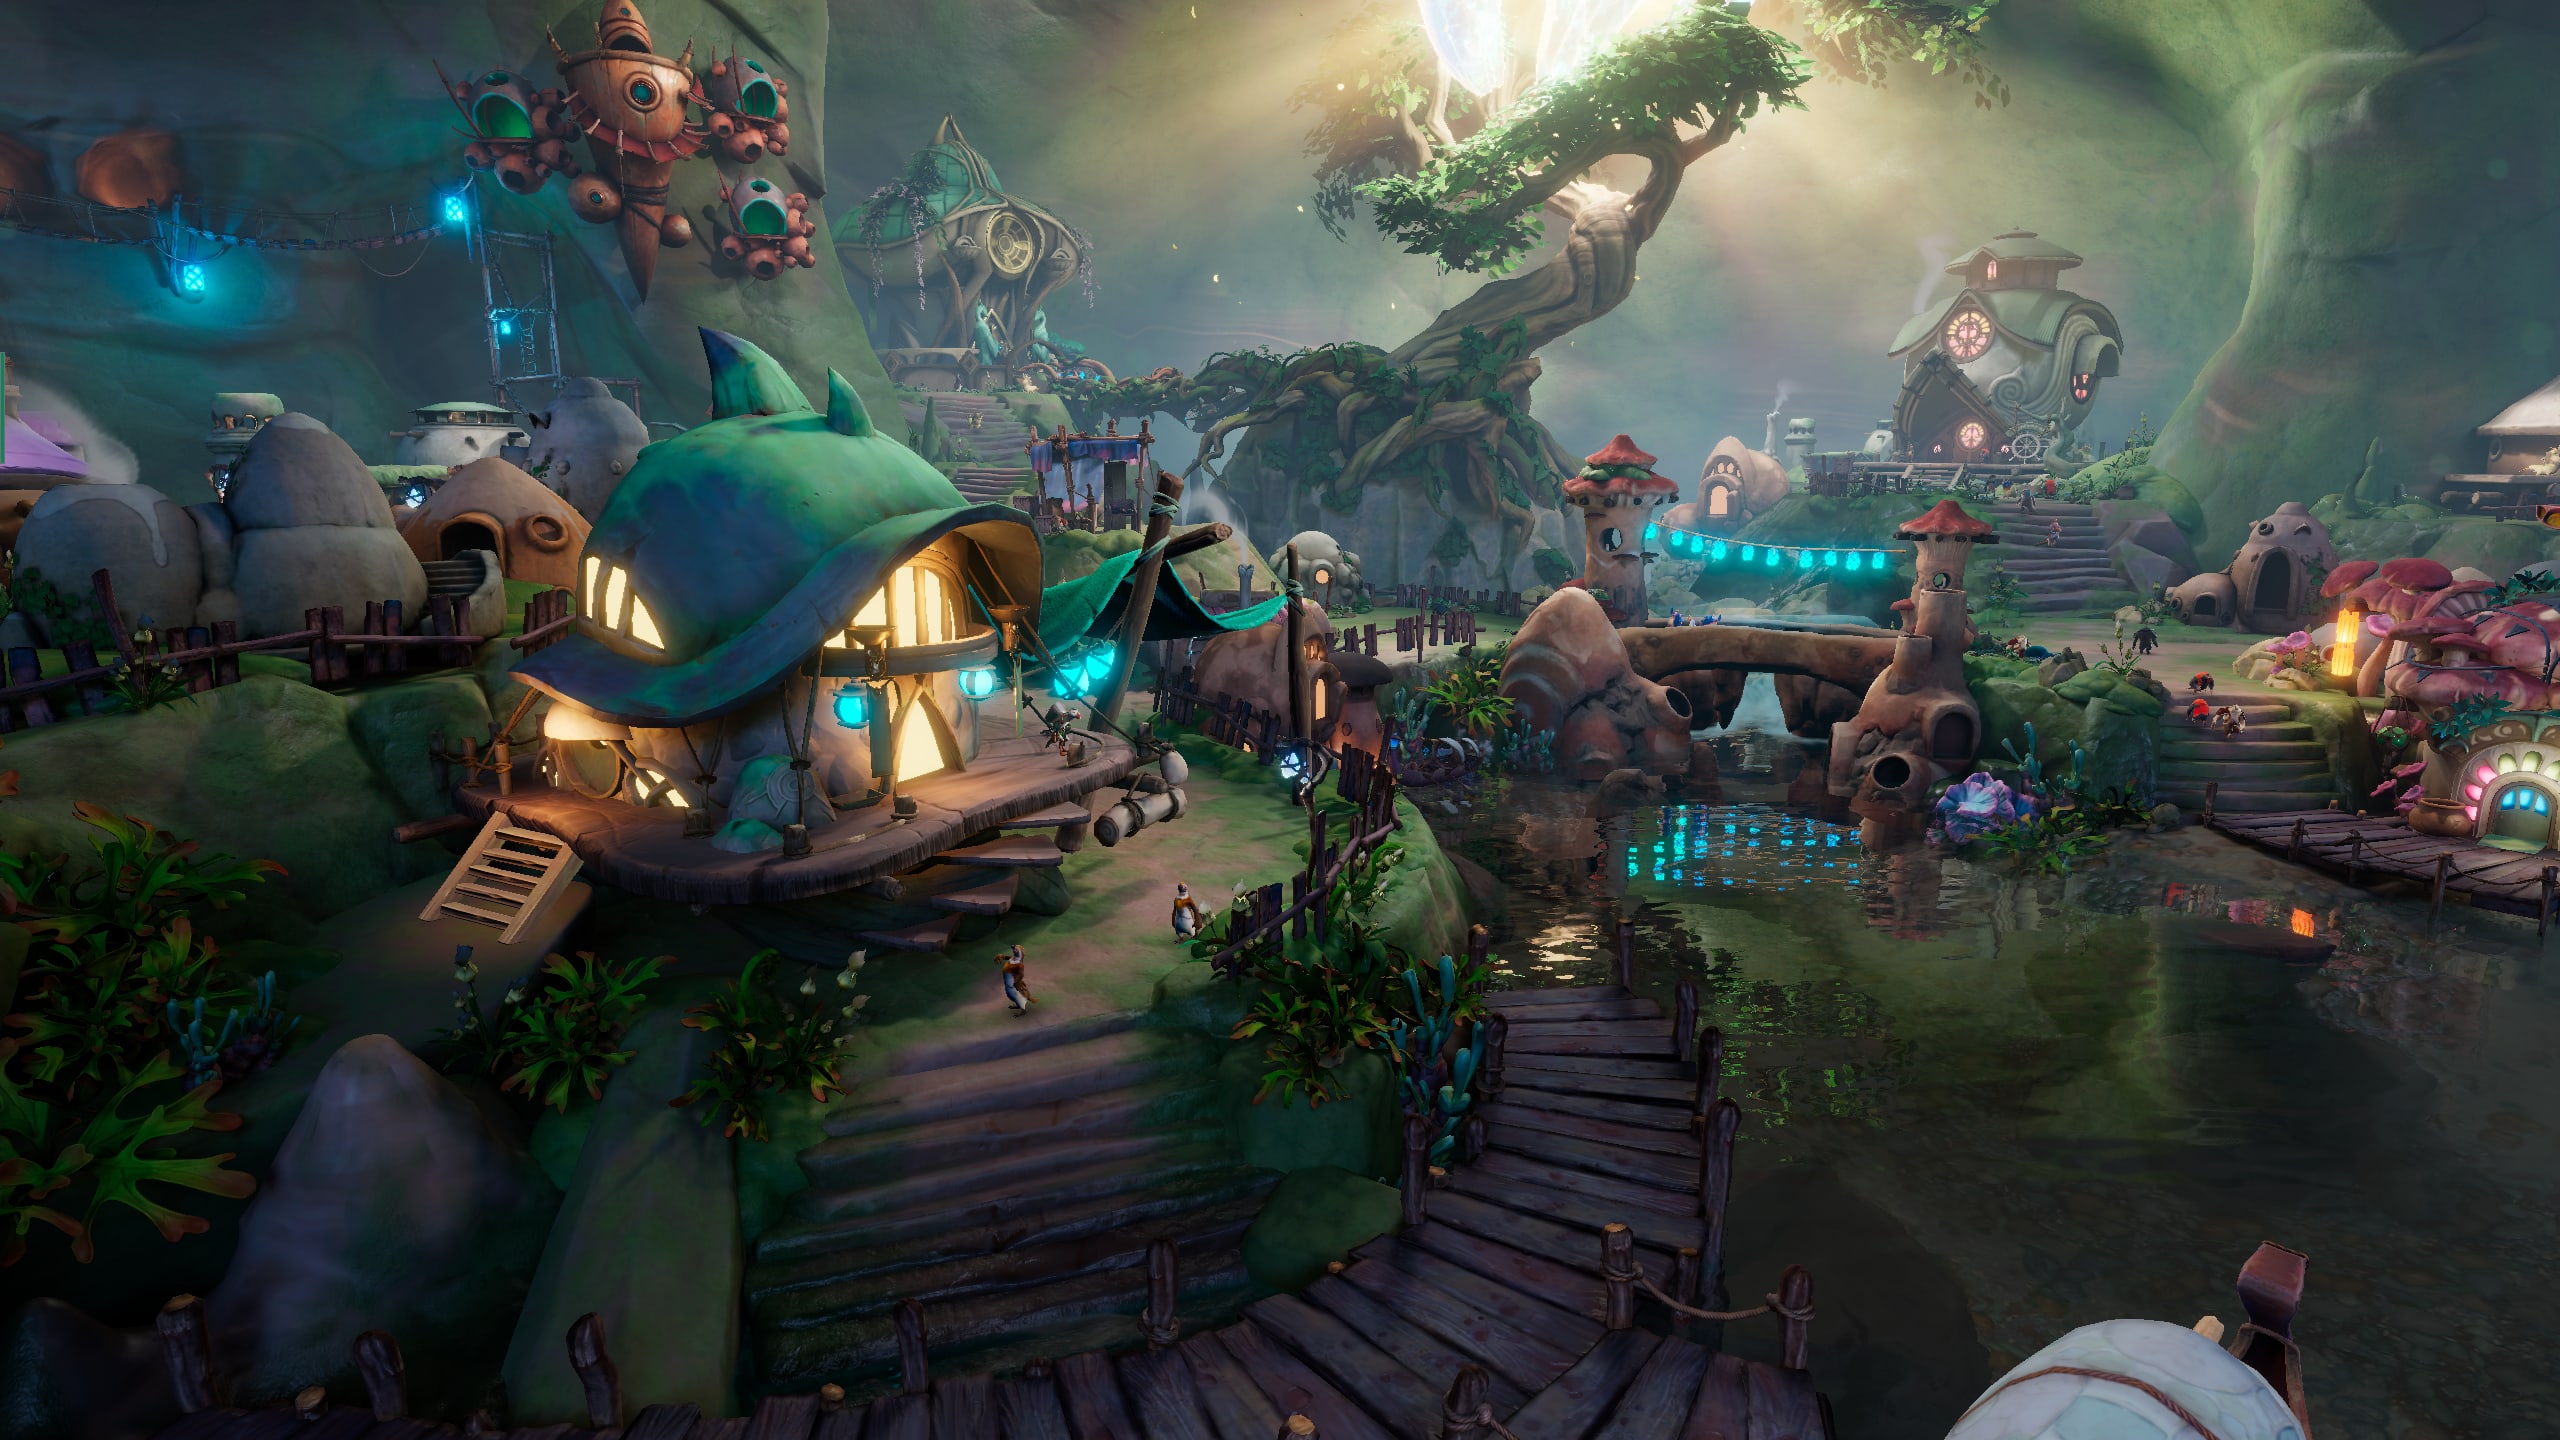
Once you’re equipped with your gear, you can take on any challenge in the Sunderlands.
Now you’ve chosen your character, geared up, and ready for an adventure.
Have fun!
The Sunderfolk Team